Documentation
Use this document as a way to quickly get started with LinkMap
1. Loading issues
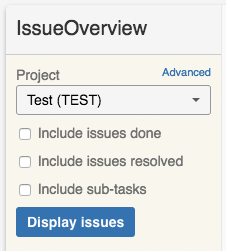
Select a project from the control panel to display the related issues as a graph. By default issues with status done or resolved and / or of type subtask are ignored. You can overrule this behavior by activating the corresponding check boxes.
As an alternative, LinkMap also lets you submit custom JQL queries using the advanced mode.

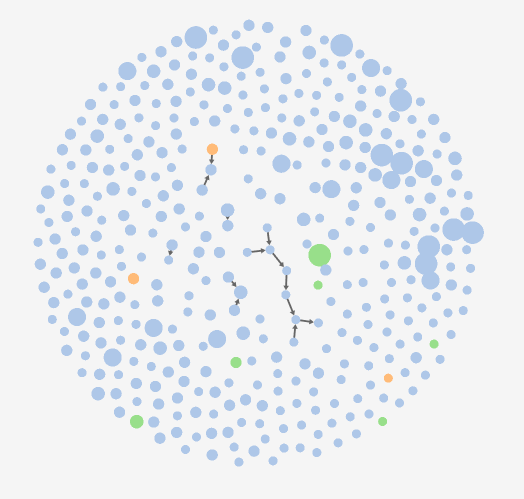
Issues are represented as nodes and links as edges connecting nodes. In case of a directed link type such as 'is blocked by', the link is displayed with an arrow head pointing towards the issue blocking the other one.
2. Navigation
Navigate the issue space by zooming (mouse wheel) and panning (dragging the stage). You can also freely re-position issues with drag&drop. To select multiple items for drag&drop, hold the shift key pressed while selecting the issues.
3. Settings
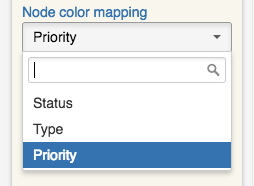
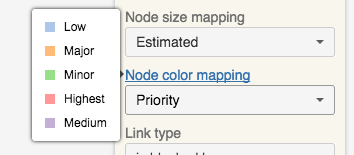
Node size and color are used to convey important issue information to the user at a glance. Different mapping attributes are available for selection.
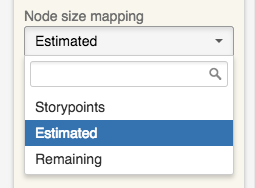
Hover the mouse over the color mapping label to display a color legend.
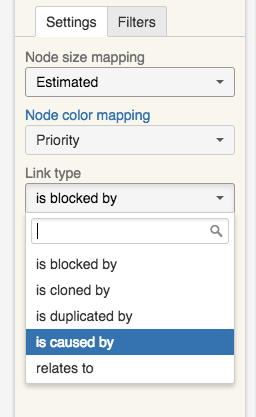
To improve overview by reducing clutter the graph displays a single link type at a time. By default the type "is blocked by“ is used. Switch to another link type via the corresponding settings select box.
4. Retrieving issue details
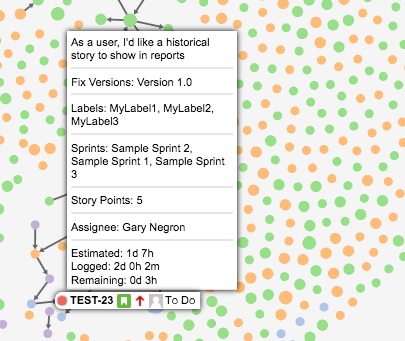
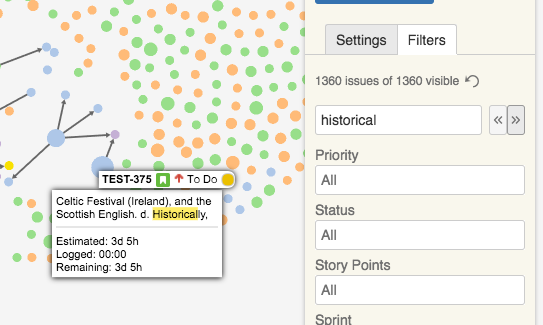
Issue details are retrieved by hovering the mouse over a node. Further information can be retrieved by double-clicking the node: the issue detail page is opened in a new tab.
5. Searching
From the control panel, open the tab "Filters". Enter a query string into the search field to search for (sub)strings of issue key and / or issue summary (image 4). Issues retrieved are highlighted yellow and can be iterated over by pressing the enter key or clicking the arrow buttons.
Reset the search by removing the content from the search field, or by clicking the reset icon-button.
6. Filtering
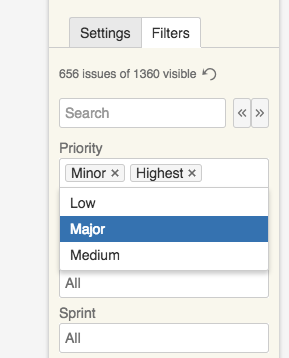
On the tab "Filters", select one or multiple filter values from the select boxes. Issues not matching all selected filter values across all filter attributes are instantly hidden.
Remove a particular filter values by clicking the x-button of its label. Remove all filters by clicking the reset icon-button.
7. Creating a new issue
To create a new issue:
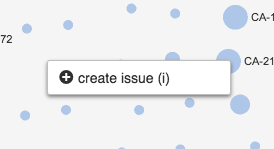
- Right-click somewhere on an empty stage region (not clicking an issue)
- Select 'create issue' from the context-menu
- Left-click a position where to add the new issue
- Enter the issue data into the pop-up and click 'Create'
- The new issue is created and placed on the stage
The create-issue command can also be triggered by the keyboard shortcut 'i'.
The create-issue mode can be cancelled by pressing the exit key, or by clicking on an existing node.
8. Creating a new link
To create a new link:
- Ensure that the desired link type is selected in the settings select box
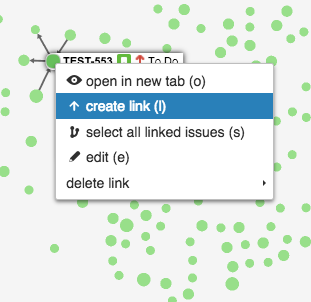
- Right-click on the issue to become the link source
- Select 'create link' from the context-menu
- Left-click the target issue
- The new link is created and displayed as an edge between the source and target issue.
The create-link command can also be triggered by the keyboard shortcut 'l'.
The create-link mode can be cancelled by pressing the exit key, or by re-clicking the selected origin issue.
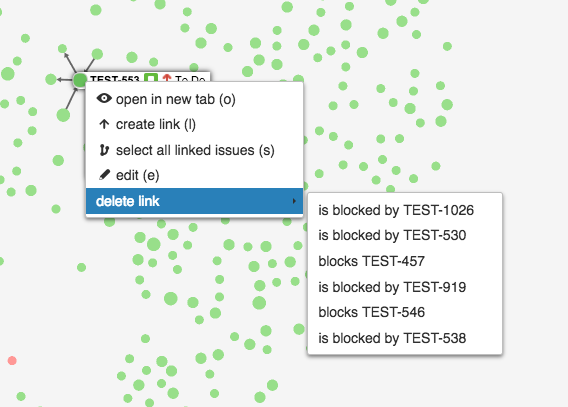
9. Deleting a link
To delete an existing link:
- Right-click one of the two issues connected by the link. It does not matter whether you select the source or target issue.
- Select the link to be deleted from the sub-menu of the 'delete' context-menu
- The link is deleted and removed from the graph
10. Additional functionality
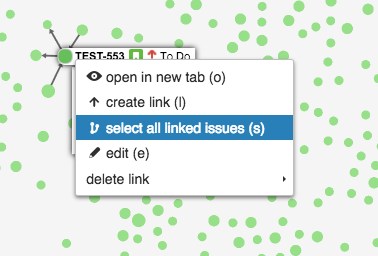
- Double-click an issue to open it in a new tab. Alternatively, select 'open in new tab' from the context-menu, or use the keyboard shortcut 'o' (an issue must be selected beforehand).
- Open an issue in edit-mode in a new tab by selecting 'edit' from the context-menu, or use the keyboard shortcut 'e' (an issue must be selected beforehand).
- Select an entire subgraph (set of issues connected by links) by right-clicking one of the subgraph members and select 'select all linked issues' from the context-menu. This is useful when you want to drag and drop a larger subgraph to a more empty region for better manipulation. Alternatively, use the keyboard shortcut 's' (a subgraph member must be selected beforehand).